How to Find Top-Rated Personal Injury Lawyers?
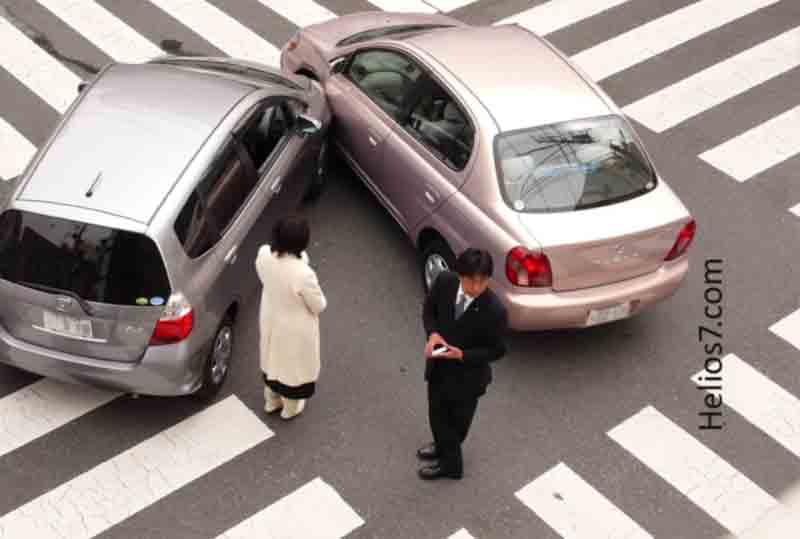
Accident attorneys understand the types of difficulties that may arise after a car accident in Florida. Over the years, we have witnessed the terrible injuries, injuries, and deaths that can result from these accidents and we understand how difficult it is for some victims to obtain compensation for their losses.
Locations
- Los Angeles 1
- New York 9
- Texas 1
- Washington DC 1
Best Personal Injury Law Firms 2023


In Florida, there are specific regulations that can make it harder to get compensation for pain and suffering and make insurance claims more complicated than necessary.
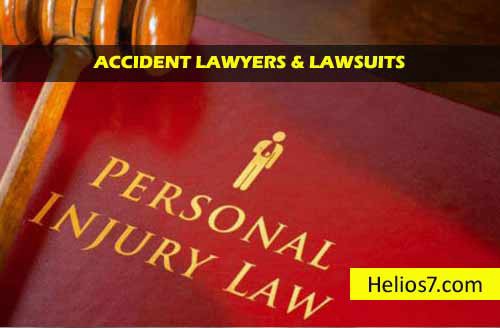
Top 10 Accident Lawyers & Lawsuits
Accident lawyer can help you receive the most benefits that the insurance company owes you. Accident attorneys can also evaluate your case for free and determine if you are eligible to file a lawsuit against the guilty party for additional compensation.
The PIP limitation
As a driver in Ocala or The Villages, you probably already know that you must have a minimum of personal injury or PIP protection. This type of insurance is essential in case of an accident since it covers 60% of the wages you lose due to the accident, and 80% of the medical expenses for the injuries you may suffer. This insurance regulation was established to help reduce the number of claims filed after traffic accidents. However, the financial compensation provided by the PIP is not always sufficient for injured drivers. It may not cover lost wages or medical bills, and there is no compensation available through PIP to cover the pain and suffering caused by the accident, property damage, or any other damage that has occurred.
Personal Injury Lawsuits
As your Florida Auto Accident attorneys, we can help you obtain financial compensation beyond what your insurance claim is willing to pay. We will collect, analyze and present evidence to the negligent driver’s insurance company to help you reach an agreement. If no agreement is reached, the case is likely to proceed to trial.
Economic compensation commonly included in automobile accidents.
Indemnities for automobile accident damages (or compensatory damages) are designed to compensate the victims for their monetary losses. These damages go beyond current and future medical expenses. Often, an insurance company will want to downplay the compensation areas and try to reach an agreement with the victim. At the Accident Law Firm — Helios7, we will make sure that you receive full financial compensation.
Top Personal Injury Law Firm and Lawsuits
The compensation commonly awarded for damages in automobile accident cases includes:
Present medical expenses — Emergency room and hospitalization, surgery, rehabilitation, medication, medical care, and medical assistance at home if necessary.
Future medical expenses — Medical care related to the accident.
Lost wages — Compensation for loss of salary from the moment of the accident. Unemployed victims may also be eligible if they show income potential.
Loss of ability to win — Sometimes victims permanently lose the ability to return to their previous profession. In these cases, compensation may be available.
Pain and suffering — This includes the physical pain experienced due to the injuries that resulted from the accident.
Mental Anguish — The emotional and mental anguish related to the car accident including fear, worry, anxiety, pain, nightmares and other problems related to the accident.
Loss of Consortium — An unharmed spouse may sometimes be eligible to receive compensation for loss of spousal benefits. This includes affection, companionship, comfort, and intimacy.
Punitive damages — If it is shown that the defendant’s actions were of a malicious nature, compensation for punitive damages could be awarded.
Have you suffered a car accident? If so, you need the help of an automobile accident lawyer at the Accident Law Firm — Helios7. Our Auto Accident attorneys will evaluate your case for free to see if you qualify for our help.
We specialize in automobile accidents; golf cart accidents; motorcycle accidents; and even bicycle accidents. In fact, we are so confident in our ability to help you that we work under a contingency fee basis, which means you will not pay anything if we do not win your case.
Best Personal Injury Lawyers: New York – Contact top injury attorneys today for a free consultation and evaluation of your case.
Accidents in which the responsibility is of the premises
Choose an aggressive accident lawyer for accidents related to auto accident, truck accident or any other.
Premise liability is a legal term associated with accidents within a property. “Slip and fall” is a typical case of premises liability. Other cases may be linked to the inadequate or negligent work of the person responsible for security on the premises (for example if you are attacked in a bar) or negligent maintenance (for example if you fall down the stairs due to a broken railing). Often, these injuries happen because of the negligence of the owner of the premises, both because he failed in his duty to repair and maintain his property in order eliminating dangerous conditions and because he failed to warn the existence of such dangerous condition.
Under the laws of Georgia, the property owner must keep said property reasonably safe and to warn others of the existence of any dangerous condition. Owners are usually responsible when they let the dangerous condition exist on their property without fixing it or warning people that it exists. Things like the wood are damaged on the stairs, the tiles at the entrance are slippery, or there is a dangerous dog. Too many people suffer serious personal injury and even death just because the owner of a property did not take the most basic precautions for public safety.
In many cases of responsibility of the premises, the owners were previously warned, when an accident took place, of the dangerous conditions of their establishment. This type of negligence is inexcusable
Types of Personal Injury Lawyers
Types of injuries you may have suffered due to the dangerous state of a property:
– Brain Injury
– Medical Malpractice
– Offshore Injury
– Spinal Cord Injury
– Burn Injury
– Birth Injury
– Medical Negligence
– Dangerous Drugs
– Surgical Errors
Accident Lawyer Types
Auto Accident
Motorcycle Accident
Construction Accident
Bus Accident
MTA Accident
Airplane Accident
Car Accident
Truck Accident
Work Accident
Why do you need an accident lawyer?
These cases of accidents in which the responsibility is of the premises can be complicated and challenging to demonstrate. When there are complicated legal issues, and the insurance companies are involved, it is crucial that you have the help of a legal firm specialized in accidents in which the responsibility is of the premises. We offer you attentive legal assistance as we strive to obtain full compensation for your injuries, medical bills, lost wages and other losses. If you have suffered injuries while on another person’s property, we encourage you to contact your personal injury law firm today.
Accident Injury Legal Resources
- So You’ve Had an Accident, What’s Next?
- [PDF]Brief Explanation of Michigan No-Fault Insurance — State of Michigan
- Accident Injury Lawyer — Upper Sioux Community
- FastStats — Accidents or Unintentional Injuries — CDC
- Crashes (Accidents) | Department of Motor Vehicles — Vermont DMV
- Insurance Information — Missouri Department of Revenue — MO.gov
- Article 51 of the New York Insurance Law
- Law | State Board of Workers’ Compensation
- Filing an Auto Claim with Another’s Insurance Company